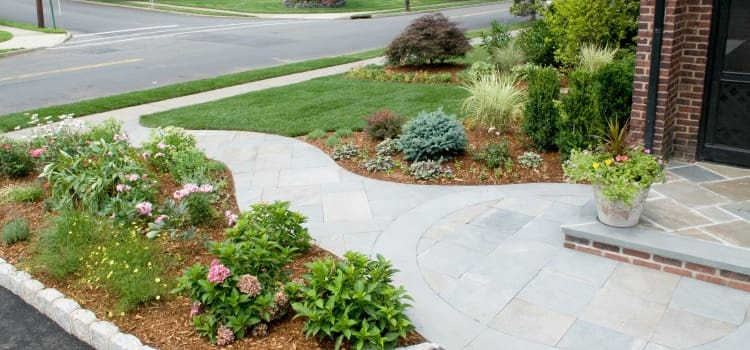
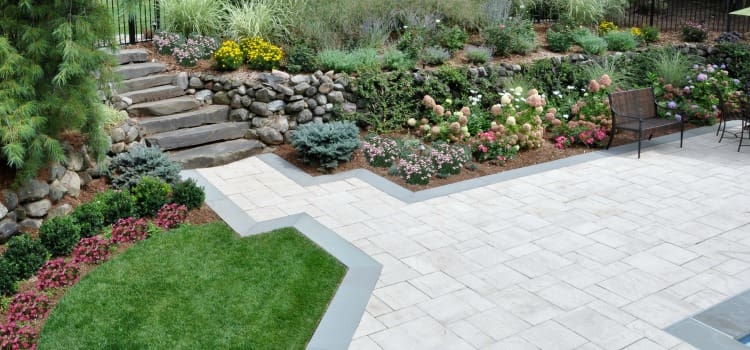
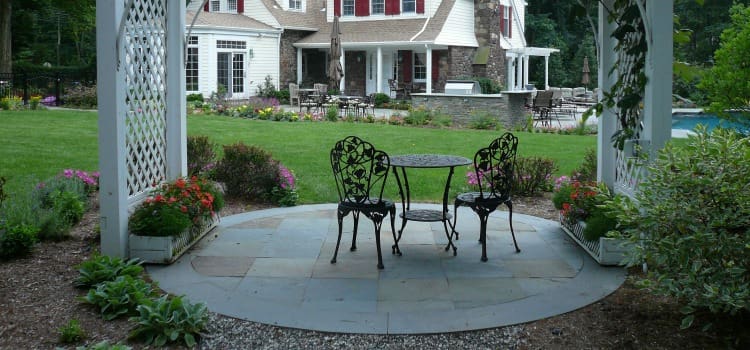
The durability and low maintenance of slate makes it a great choice for outdoor walkways and patios. Slate will add natural appeal and updated style to any outdoor space. Whether you have an old English traditional home or a home with sleek modern features, slate will enhance the beauty of your home and landscape.
A slate walkway will add beauty to any outdoor space. Slate is a natural, organic material that will last a lifetime with proper care and maintenance. However, outdoor elements like sun, rain, snow and ice will take a toll on any outdoor hardscape material over time.
Eventually, your slate walkway will need some repairs, even with proper care and maintenance. Luckily, slate tiles are easy to install and remove when repairs are necessary, so you can make it a do-it-yourself project if you choose. Here are some DIY tips to help you accomplish the repairs.
 Gather the Necessary Tools
When a slate tile or paver becomes loose on an outdoor walkway, it should be repaired as quickly as possible to prevent falls and injuries. A loose piece of slate can cause people to trip or lose their balance. Falling suddenly and unexpectedly on any hardscape material can result in serious injuries, including broken bones and head injuries.
Slate walkways are typically laid on a bed of gravel and set in place with a layer of fine builder’s sand, so repairs to a slate walkway are relatively simple. Minor repairs can be done in just a few hours with the right tools. Here’s what you will need:
- Rubber mallet
- Trowel
- Level
- Fine builder’s sand
- Chisel or knife
- Shop broom
If you’re using mortar and grout, you will also need:
- Grout
- Grout float
- Thin-set mortar
- Sponge
- Bucket of water
Step 1 – Remove the Grout
If your Northern NJ slate walkway is grouted, you will first need to remove the grout around the damaged tiles to remove them. You can do this with a chisel or a sturdy utility knife. Since the grout will be hardened, you’ll likely need to hit your chisel or knife with a hammer or rubber mallet to break up the grout.
Make sure you don’t accidentally hit the slate, or you can cause further damage. After all the grout around damaged tiles or pavers has been removed, you can lift the slate out of place. Make sure all grout is removed, as any remaining grout that’s attached to the slate can cause the slate to crack or chip when you lift it up.
Step 2 – Remove the Damaged Tile
First, identify the damaged or loose piece of slate on your slate walkway. If you have successfully removed the grout around the tile, you should be able to easily lift it up. If the tile or paver is already cracked or chipped, it may be easier to break it up and remove it in smaller pieces.
To break up the tile, place your chisel in the center of the tile and hit it with a hammer. Work your way from the center of the tile to the edges. As the tile starts to crack into pieces, use the chisel to lever up the fragments of the tile.
If you can easily lift up the slate tile with your hands after the grout is removed, simply lift it out of the walkway and set it aside. If lifting the tile is difficult, you can use your trowel to gain leverage. Slide the trowel under the tile to help pry it loose from the ground.
 Step 3 – Replace the Tile
Replacing Slate Tiles Without Mortar
Before you install a new tile into your slate walkway, the ground surface needs to be level. To prepare the surface:
- Using your trowel, loosen the sand under the tile that was removed, then dig out the sand down to the gravel bed with the trowel.
- Add a fresh layer of fine-builder’s sand and level it out using the bottom of the trowel. Lay the new slate tile or paver over the fresh layer of sand.
- After you place the slate, place a level on top to make sure it’s sitting evenly in the sand. If your tile is too low, add more sand. If it’s too high, remove some sand or compact it so it sinks down.
- Once the tile is level, tap the top of the tile with a rubber mallet to seat it firmly into the sand. Fill in around the slate tile with the sand you dug out. When you’re sure the slate is firmly in place, gently sweep off your slate walkway with a shop broom.
- Lastly, dampen the area with fine spray from a garden hose to help the sand settle. Over the next few days, check the area for settling. If you notice sinking, add more sand and dampen the area again.
Replacing Slate Tiles With Mortar
When replacing slate tiles with mortar, you will need to add an evenly applied layer of thin-set mortar first. When applying the thin-set, make sure it thoroughly covers the ground surface where you’re adding new tile to minimize cracking in the slate tile. Put the new tile in place and make sure that it is firmly applied and level with the surrounding tiles, then leave the tile to set overnight.
The next day, when the tile is firmly set, apply grout with a grouting gun to seal the seams between the tiles. To ensure that the grout is evenly distributed around the new tile, you can use a grout float.
When you’re sure that the tile is firmly and correctly in place, use a damp sponge to wipe off any excess on the surface of the tiles. Let your new tile or tiles set for two or three days before you walk on your slate walkway.
If you’re replacing slate tiles in a mortared walkway, you may need to repair or patch cracked mortar as well. Typically, you only need to replace or patch cracked mortar that is loosening your tiles. Short, small cracks that are not affecting the stability of surrounding tile can be left alone.
If you need to repair or patch mortar, make sure Bergen County overnight temperatures are well above freezing, so mortar will set. For best results in a slate walkway that needs new mortar, it’s best to replace your slate tiles in the spring when temperatures are warm.
 Step 4 – Provide Proper Care and Maintenance
Although outdoor slate tile is strong and durable, all natural stones require appropriate cleaning and periodic sealing when used outdoors. Otherwise, they are subject to all types of stains from outdoor debris, as well as foods and drinks spilled while entertaining.
To keep your slate walkway looking its best year-round, follow these care and maintenance tips:
- Apply a water-barrier sealer to the slate after installation. Choose a sealer based on your slate.
- Some sealers are better for more porous stones, while others work best for low-water absorption stones.
Apply a non-yellowing protective finish to the slate every few months to prevent fading from the sun and weathering from rain, snow and ice. - If spills occur, clean them up immediately.
- When cleaning your slate tiles, don’t use cleaners that contain acid, or abrasive cleaners that will scratch the slate. For best results, use 1/4 cup mild detergent and warm water to wash your slate. Allow to dry completely.
Replacing loose tiles in an existing slate walkway is a pretty easy job, but you should allow enough time to finish the project the same day, so bad weather doesn’t impact the job.
If you’re interested in a new slate walkway or has one that is in need of repair for your Bergen County home, the landscape professionals at Borst Landscape & Design can design and install a beautiful walkway that enhances the beauty of your property.

 Step 3 – Replace the Tile
 Step 4 – Provide Proper Care and Maintenance